by
by 
In this guide, you’ll learn how to enable SSH in Kali Linux, start and manage the SSH service, and connect to your Kali machine safely. Secure Shell (SSH) is one of the most important tools in Kali Linux. It allows you to remotely access your Kali system securely over a network, making it extremely useful for system administration, penetration testing, and remote troubleshooting.
What Is SSH?
SSH (Secure Shell) is a network protocol used to securely access a remote system over an encrypted connection. It replaces insecure protocols like Telnet and provides strong authentication and data encryption.
Why SSH Is Disabled by Default in Kali Linux
For security reasons, SSH is disabled by default in Kali Linux. Kali is primarily used for security testing, and running unnecessary services can increase the attack surface. You must manually enable SSH when needed.
Prerequisites
Before enabling SSH, make sure:
- You are logged in as a root user or have sudo privileges
- Your Kali system has internet access
- Kali Linux is updated (recommended)
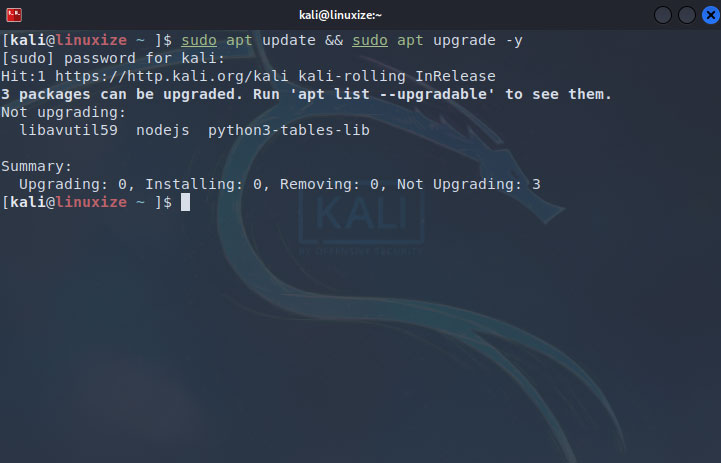
Update Kali Linux
It’s always a good practice to update your system before installing or enabling services.
sudo apt update && sudo apt upgrade -y
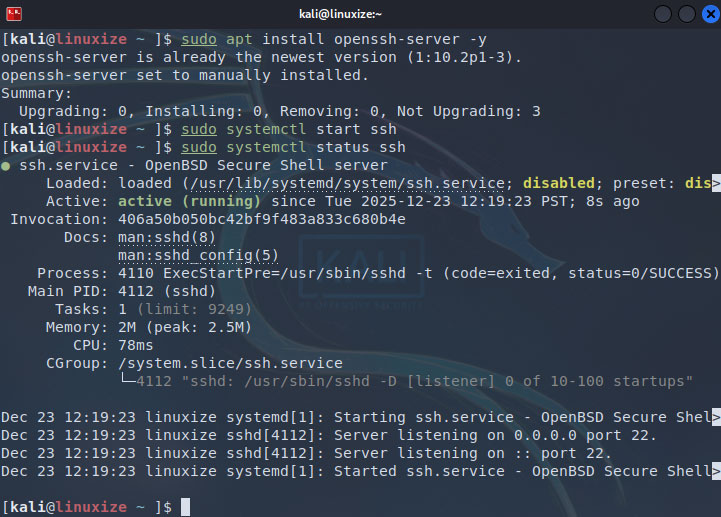
Install OpenSSH Server
Kali Linux does not always come with the SSH server installed. Install it using the following command:
sudo apt install openssh-server -y
Once installed, the SSH service will be available on your system.
Start the SSH Service
To start the SSH service manually, run:
sudo systemctl start ssh
To confirm that the service is running:
sudo systemctl status ssh
You should see active (running) in the output.
Enable SSH on Boot (Optional but Recommended)
If you want SSH to start automatically every time Kali boots, enable it using:
sudo systemctl enable ssh
Check SSH Listening Port
By default, SSH listens on port 22. You can verify this using:
ss -tlnp | grep ssh
or
netstat -tlnp | grep ssh
Find Your Kali Linux IP Address
To connect to Kali remotely, you need its IP address.
ip a
Look for an IP address like 192.168.x.x or 10.x.x.x.
Connect to Kali Linux via SSH
From another Linux or macOS system:
ssh username@kali_ip_address
Example:
ssh [email protected]
From Windows, you can use tools like PuTTY or the built-in OpenSSH client in PowerShell:
ssh [email protected]
Allow Root Login via SSH (Optional)
Warning: Allowing root login over SSH is not recommended for security reasons.
If required, edit the SSH configuration file:
sudo nano /etc/ssh/sshd_config
Find and modify:
PermitRootLogin yes
Save the file and restart SSH:
sudo systemctl restart ssh
Secure SSH (Best Practices)
To improve security:
- Use SSH key authentication instead of passwords
- Change the default SSH port
- Disable root login
- Use a firewall like ufw
Example: Disable root login
PermitRootLogin no
Common SSH Issues and Fixes
SSH Service Not Running
sudo systemctl restart ssh
Connection Refused Error
- Check SSH status
- Verify port 22 is open
- Ensure correct IP address
Permission Denied
- Check username and password
- Verify SSH configuration
Conclusion
Enabling SSH in Kali Linux is a straightforward process that allows secure remote access to your system. Whether you’re managing a virtual machine, running Kali on a server, or accessing it remotely for testing, SSH is an essential tool.
Always remember to secure your SSH configuration to keep your system safe from unauthorized access.