by
by 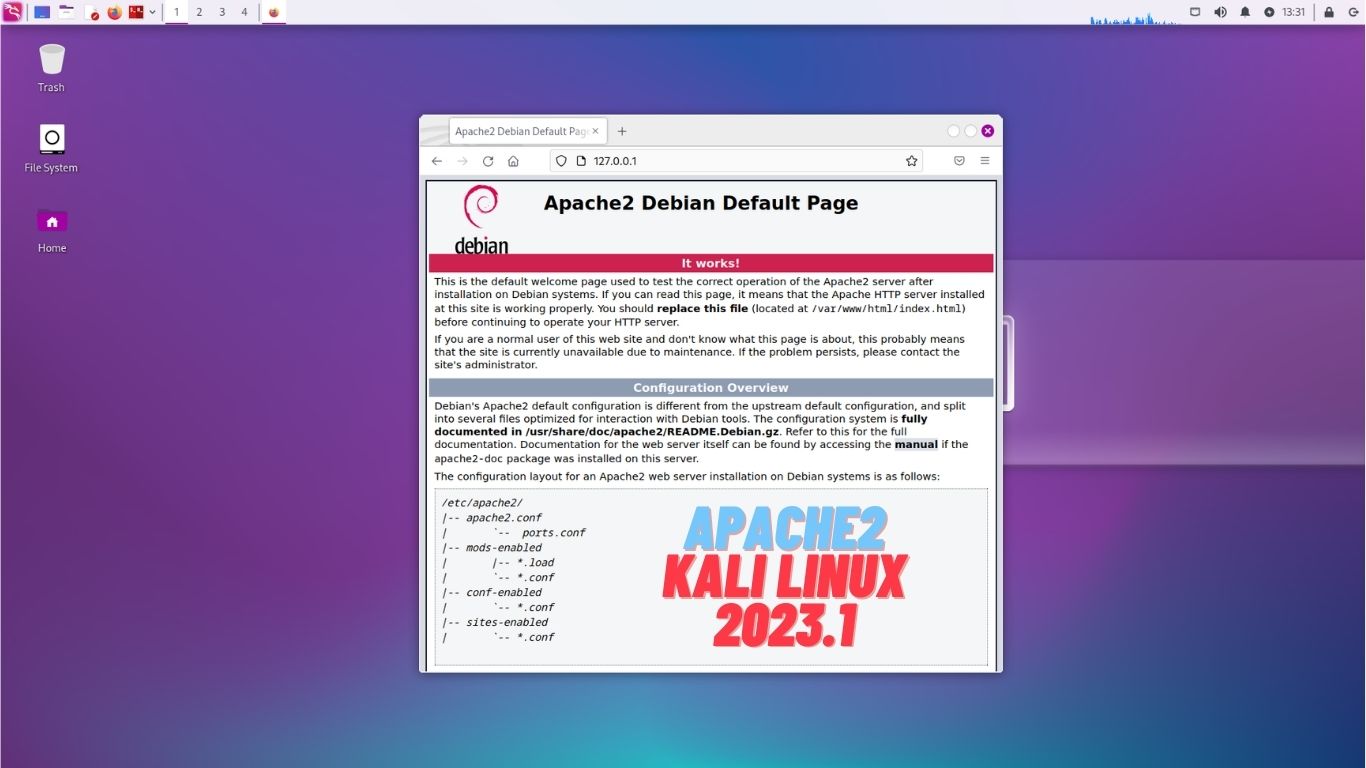
In this tutorial, we will explain how to install apache2 on Kali Linux 2023.1 system. Apache2 is a web server software that is often used on Kali Linux. It is used to serve web pages to clients over the Internet or a local network. Apache2 is open-source software, which means that it is free to use and can be modified by anyone
Requirements
Before starting the tutorial, make sure you are logged in as a user with sudo privileges and Apache or other services are not running on port 80 or 443.
Update Kali Linux
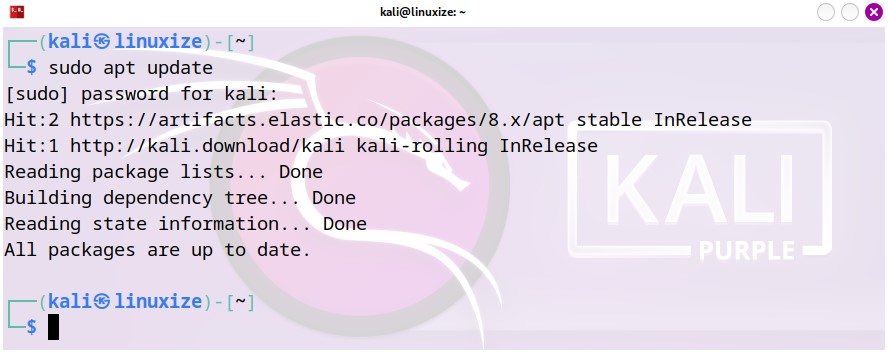
So first of all we have to update the Kali Linux. You can run the following command for that:
sudo apt update
Install apache2 on Kali Linux 2023.1
Apache2 packages are available by default in Kali repositories. The installation is very simple, just run the following command:
sudo apt install apache2
Once the installation is completed, check the status of the apache2 service by typing:
sudo systemctl status apache2
The output should show you that the Nginx service is active and running:
┌──(kali㉿linuxize)-[~]
└─$ sudo systemctl status apache2
● apache2.service - The Apache HTTP Server
     Loaded: loaded (/lib/systemd/system/apache2.service; disabled; preset: dis>
     Active: active (running) since Sun 2023-03-19 13:20:39 PDT; 2s ago
       Docs: https://httpd.apache.org/docs/2.4/
    Process: 13889 ExecStart=/usr/sbin/apachectl start (code=exited, status=0/S>
   Main PID: 13906 (apache2)       Tasks: 6 (limit: 9423)
     Memory: 18.4M
        CPU: 71ms
     CGroup: /system.slice/apache2.service
             ├─13906 /usr/sbin/apache2 -k start
             ├─13907 /usr/sbin/apache2 -k start
             ├─13908 /usr/sbin/apache2 -k start
             ├─13909 /usr/sbin/apache2 -k start
             ├─13910 /usr/sbin/apache2 -k start
             └─13911 /usr/sbin/apache2 -k start

Mar 19 13:20:39 linuxize systemd[1]: Starting apache2.service - The Apache HTTP>
Mar 19 13:20:39 linuxize apachectl[13905]: AH00558: apache2: Could not reliably>
Mar 19 13:20:39 linuxize systemd[1]: Started apache2.service - The Apache HTTP >
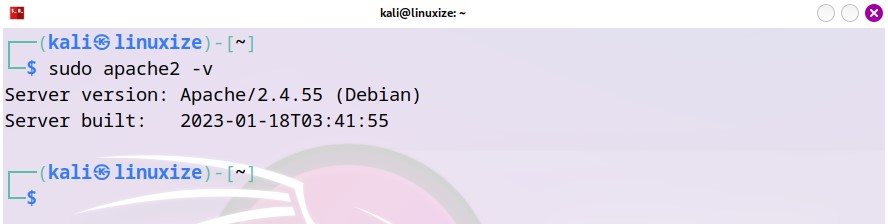
To check the apache2 version type:
sudo apache2 -v
Adjust the Firewall
Assuming you are using UFW to manage your firewall, you’ll need to open HTTP (80) and HTTPS (443) ports.
You can do that by enabling the ‘Apache2 Full’ profile which includes rules for both ports:
sudo ufw allow 'apache2 Full'
To verify the firewall status type:
sudo ufw status
Check Installation
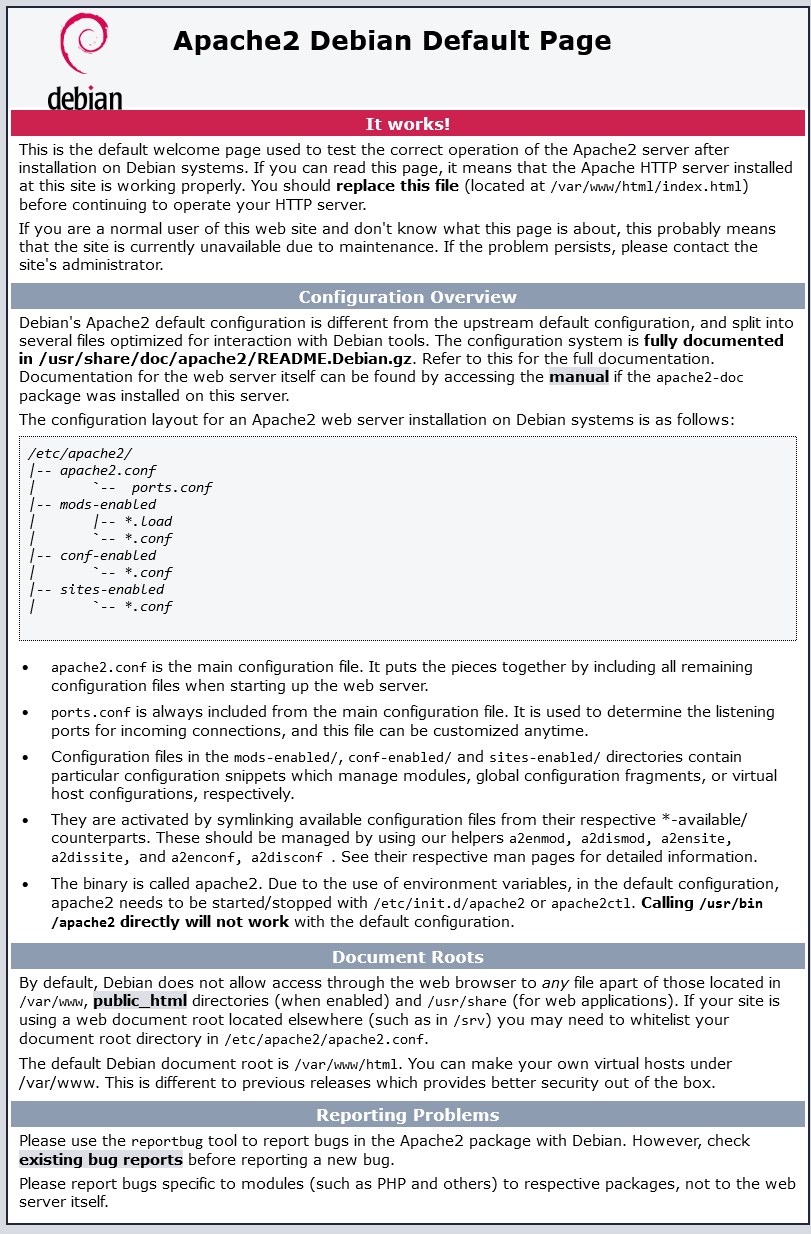
To test whether apache2 is working properly, open http://YOUR_IP address in the browser of your choice, and the default apache2 home page will be displayed as shown below:
Manage apache2 service with systemctl
You can manage the apache2 service just like any other system block.
To stop the apache2 service, run:
sudo systemctl stop apache2
To start the apache2 service, type:
sudo systemctl run apache2
Restart apache2 service:
sudo systemctl restart apache2
Reload the apache2 service after making some configuration changes:
sudo systemctl reload apache2
Disable apache2 service to start on boot:
sudo systemctl disable apache2
Re-enable the apache2 service to restart on boot:
sudo systemctl enable apache2
Conclusion
Congratulations, you have successfully installed apache2 on your Kali Linux 2023.1 server. You are now ready to deploy your application and use apache2 as a web server.
If you have any questions, please leave them in the comments below.
Related Linux Tutorials: